Reverse image search makes purchasing and marketing easier

You might think of the Windows Photos app as a basic tool for viewing and managing images. But with an upcoming update to Windows 11, there’s a new feature that could be very useful for your business: Visual Search with Bing.

With the update, you’ll be able to do a reverse image search straight from the app, showing you similar images and related information.

How can this benefit your business?

Let’s say you’re looking at a photo and you want to know more about a product, place or person in the image. Reverse image search is a faster way to get the information you need.

It’s a great tool for eCommerce store owners – you can use it to find out who else is selling a product, compare pricing, or track down new suppliers.

Marketing teams can also use it to easily find similar visuals to use in campaigns, or to make sure images aren’t being used elsewhere. It also helps you check the origin of an image to make sure you have permission to use it.

If your business is in property or research, you can save time by using reverse image search to quickly identify the locations or objects you see in photos.

Microsoft has also made it easier to flick through your photos and edit images by improving navigation and introducing a quick access editing tool right in the app.

Another big bonus: You’ll now be able to sync Photos with iCloud – great for teams that use Apple devices alongside their Windows PCs.

These features should be rolling out soon in a future Windows 11 update.

If you haven’t already upgraded your business to Windows 11, it’s time to start thinking about it. We can help make it easy – get in touch.

Read more

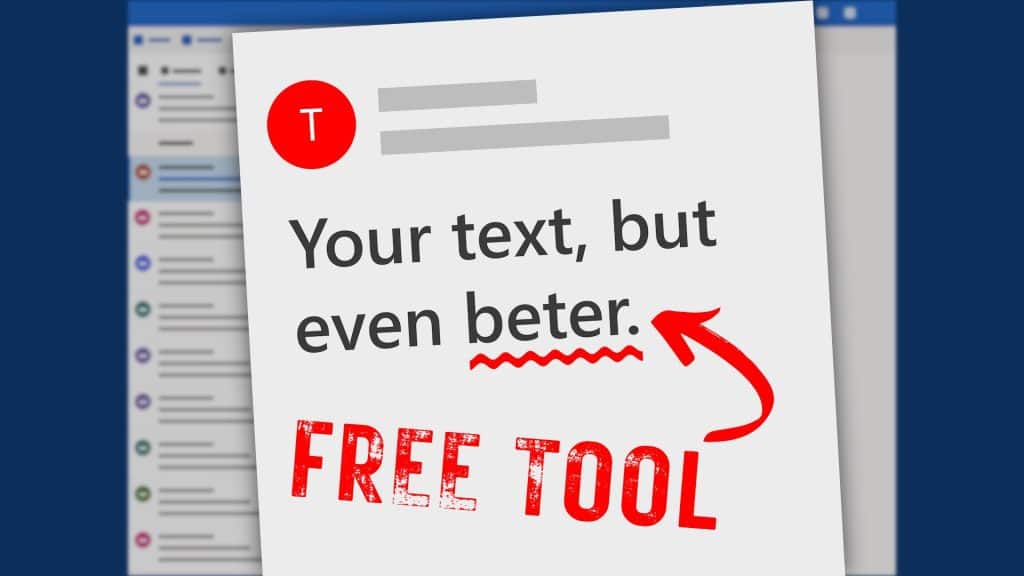
A free tool for more polished communication

Whether you’re drafting emails, writing reports, or creating presentations, spelling mistakes and typos can easily be missed. This means you run the risk of looking unprofessional, especially when communicating with clients or business partners.

Here’s the good news: Windows 11 comes with built-in spell check and autocorrect tools that can put an end to embarrassing spelling mistakes.

These tools are easy to set up. And once that’s done, you won’t need any extra software to make sure your text always looks clear and professional.

Want to know how to use them?

First, open Windows Settings. Then select Time & Language and click on the Typing page. From there, you can turn on options like ‘Autocorrect misspelled words’ and ‘Highlight misspelled words’.

These features will work across most apps, fixing errors and flagging possible spelling mistakes.

You can even get word predictions as you type by enabling text suggestions.

Does your business run in multiple languages? Be sure to switch on the ‘Multilingual text suggestions’ feature. This will bring up word suggestions in whatever language you are using.

While the spelling tools built into Windows 11 will work across most apps once enabled, some apps (like Notepad and Outlook) need a little extra set up.

For example, in Notepad, you’ll need to click the gear icon for settings to switch on the spell check feature.

Your team probably spends a lot of time in Outlook sending emails, so it’s well worth switching on grammar tools here. Go to Editor Settings under the Options tab. From there, you can turn on features like autocorrect, text predictions, and even tone adjustment.

And if your team uses Microsoft Edge for browsing, you can set up spell check and grammar tools there as well. Just head to Settings, click on Languages, and turn on the grammar and spell check options.

By setting up spell check and autocorrect in Windows 11, you’re not just avoiding small mistakes – you’re helping your business run more smoothly.

If you need a hand with this or want more advice on how to save time in your business, we can help. Get in touch.

Read more